Showing posts with label working from home. Show all posts

Saturday, June 18, 2016

Old Window, New Statement

Hello, Blog Readers!  I'm back after quite the break.  Why was I gone in the first place, you ask?  Read the many reasons I stayed off social media for a month here.  Now, I'm slowly getting back into my "routine" of checking in while fighting the urge to check out too much.  I'd love to hear how all of you manage that within your families.

But, today I wanted to share a new hobby of mine!  I have always loved crafting and creating, but my funds (and storage) are super limited.  When my mom came across an old church that was getting new windows (and tossing their old ones in the trash) we decided there had to be something we could do to re-purpose them.

And they turned out looking like this:

1. First window for my sister's bridal shower gift:


2. Second window for a friend's wedding gift:


3.  Third window for my sister's house warming gift:


4. Fourth window for a friend's house warming gift:

(Picture coming soon!)


As long as our window supply lasts (I think we have like 10-15 more sitting in the shed!) I will keep trying to come up with different people to give them to/sell them to (more on that later!) and different ways to use them.  They really are very easy to do...so if you ever want to try, here is the process I used:

Materials:


Chalk Paint (I recommend Dutch Boy brand, found at Menards)
Paint Marker
Wax Finish
Windex/Water
Sanding/Stripping Supplies
Cheap, Coarse Paintbrush
Heavy Picture Hanging Kit (I recommend Ook brand, up to 30 lbs)
Old Window
Tarp or Garbage Bags
Painter's Tape or Razor Blades
Cheesecloth

Procedure:

1. Clean glass on both sides before you start. Old windows can be quite...filthy.


 2. Lightly sand edges of window to remove any loose chunks of old paint and large splinters.  On the first window, I tried to remove the old fixtures of the window, but since then I found it easier to just paint over them and go with it!


3. Lay window on tarp/garbage bag to paint.  Heavily coat one side of window with paint.  Be sure to get all the small cracks, metal fixtures, and even the beveled edge that attaches to the glass. If you choose to use painter's tape, make sure it is laid on the glass and pressed right up against the wood.  I have found that it's easier to messily paint first and use a razor blade to tidy up the glass afterwards.

Sometimes you just gotta catch up on The Voice re-runs as you craft.


4. After that side is dry (usually close to 1 hour of wait time), flip the window and repeat step 3.  It is worth noting that from the opposite side you should again pay careful attention to the deep cracks in the sides of the window.  Even when I thought I painted everything, I would notice bare spots once I flipped the window over.

5. Even though most chalk paints claim a one coat coverage, I always do two.

6. Using a flat razor blade, carefully scrape off all the excess paint that landed on the glass, if you did not use painter's tape.  This also comes in handy when you make multiple mistakes on step 9!


7. Using your sanding materials, distress the places on the window that would naturally wear away:  corners, around fixtures, and edges. I have noticed this sometimes alters the color of the paint you have used to a lighter shade.


8. I recommend using Windex/water to re-clean both sides of the window at this point.  It's probably quite dusty again!

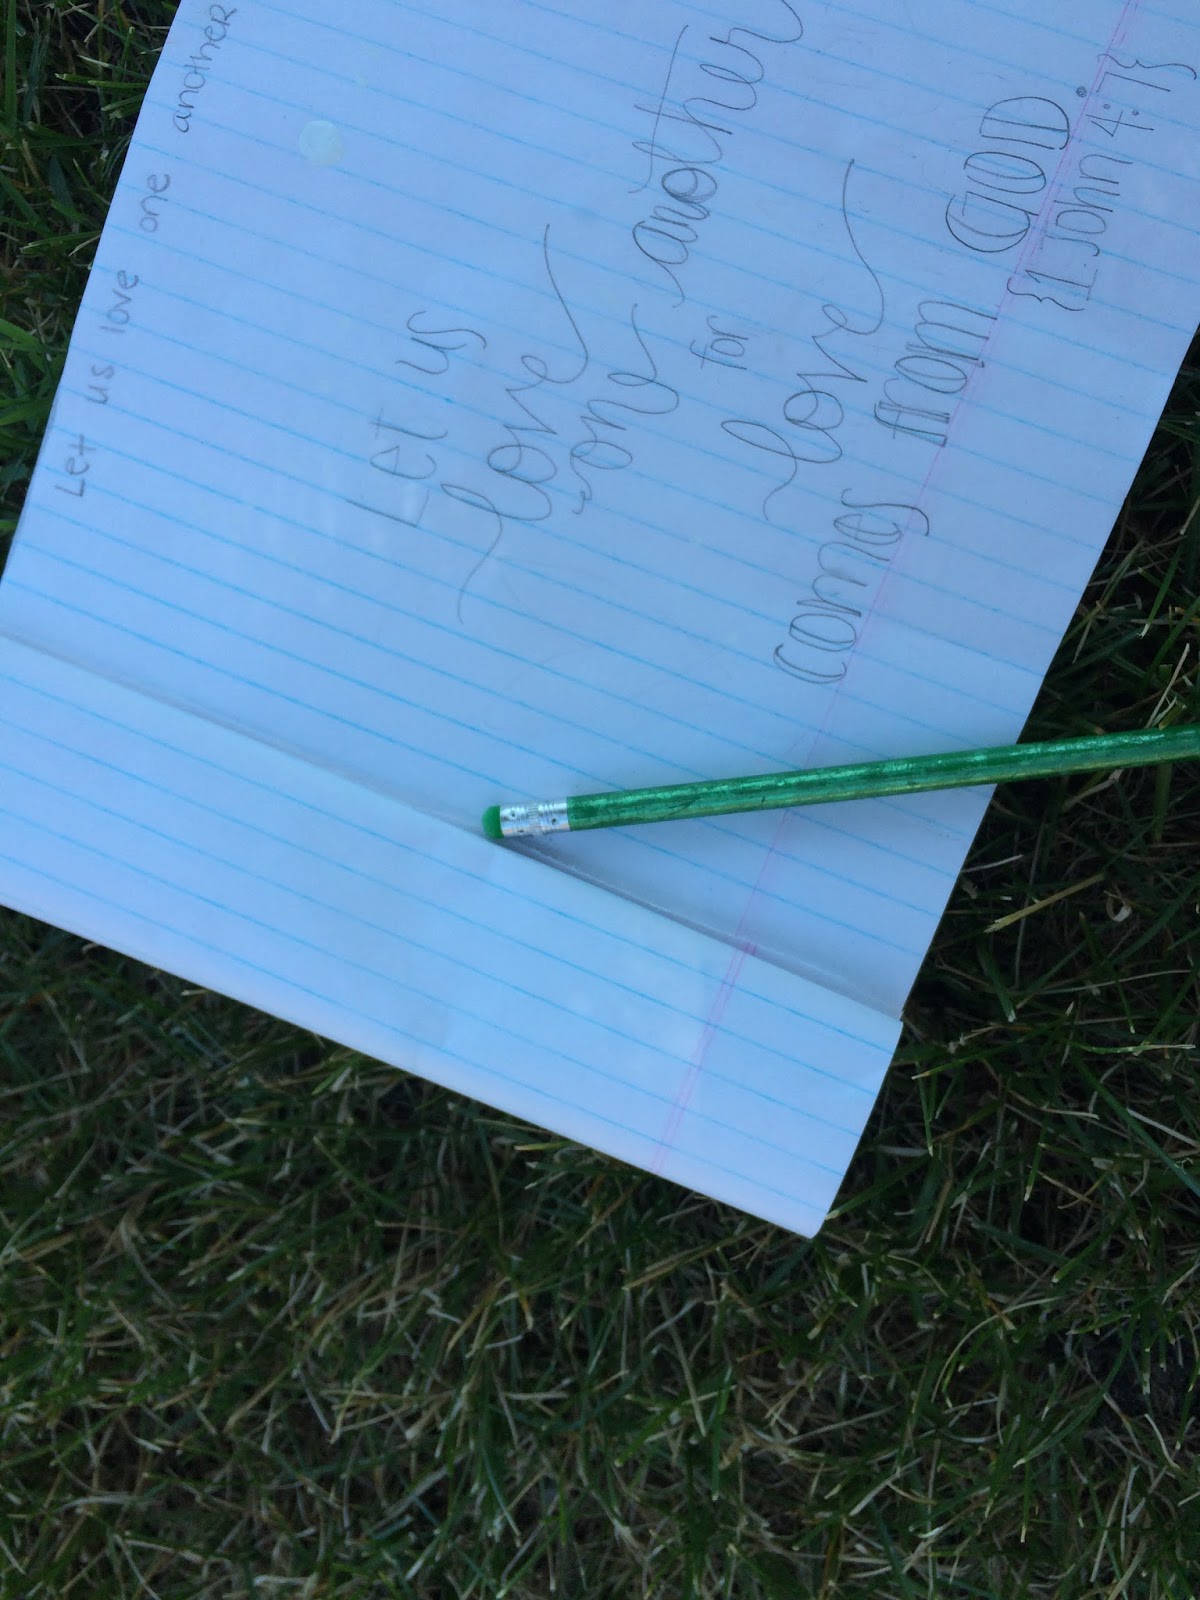
9. Using a paint marker, write the word/drawing that you desire to be the focus of the window.  I always sketch my idea first with a pencil on a piece of paper and then look at that to help me draw it on the window.  You could also trace something easily through the glass, if that's easier for you. When I know what I want to write but don't know how to format it, I often look online for different fonts or styles to use.  These pictures show how I go in stages to get the look I want:  Write it quickly for spacing/size, then scrape off any mistakes and slowly bold the letters I want to emphasize.


10. Place a quarter sized piece of wax between the folds of the cheesecloth and rub it everywhere you have used the chalk paint.  You will notice it shows up darker initially but dries quickly. Using a cheesecloth is the only way I have found of making the wax disperse evenly, otherwise it will streak...but sometimes that adds to the vintage distressed look.  Wax will help the chalky finish not to get on people's hands or walls as they handle the window.


11.  Follow the directions for how to install the hanging kit.  The one I use comes with two D-hooks (one on each side of the window).  If you install them lower, you won't see the wire above the window, but the window may hang away from the wall a little more and the wire will show through the glass.  If you install the hooks higher on the window it will hang flesh with the wall but the wire will be visible.


12.  To "gift wrap" this I suggest getting a large gift bow to stick on the corner, or buying large gift tags that you can tie with twine or ribbon diagonally across the top.  I also save the hanging kit original packaging with the wire and instructions and hang it from the back of the window so the recipient can know how to finish the hanging process.


These normally take me one whole afternoon/evening because of painting, waiting an hour, flipping, drying, etc.  Sometimes the following day I go back over the paint marker spots again to make them thicker.

What do you think?  Have you re-purposed old windows before?  Please share any tips or thoughts you have on the process!

Also, if you would like to buy one of these windows from me, I'd love to make one for your home.  If you can pick them up in Warsaw or Huntington, I'd be happy to work with you to come up with a design and color scheme you like.  Depending on what color paint/how much writing you select, the price would vary.  Comment below if you are interested!

Tuesday, January 26, 2016

Crossover Post: Teacher turned Stay at Home Mom

**This post was originally published on my teaching blog "Language Is Influence".**

Maybe you're like me.

Your life is changing directions very quickly.  
You're a young wife and teacher.  You are learning new things in the classroom and you love pouring your energy into getting better and trying new things.
You're looking for your first house and you search online for something that could be part of your future.
And BAM.  One day you find out your pregnant.  And your life priorities and energy and five year plan sorta kinda goes down the toilet...as you knew them, anyway.  Perhaps you go back to work after having your baby.  Or perhaps, like me, that wasn't a sustainable way to live for your family.  So, for now, you are no longer the young wife and teacher who loves to learn new strategies for formative assessments and search for inventive new apps.  Maybe you are now the young wife and mother who goes to baby music classes and says "please don't play with the trashcan/outlets/cough syrup/permanent markers" a lot lately.

Maybe, like me, you still feel like that young teacher.  You still have a heart for teaching and learning and traveling and languages and students.  You're not ready to be DONE but you are choosing something different (and better, for you) for now.  You've been wondering things like How can I keep using and improving my target language? How can I keep a foot in the door in my local school corporation?  How can I keep connected with students I've invested in?  How can I stay involved?

I've been there.  Actually, I'm still wandering around there a little bit.  But, here are five ways I have found to stay connected to Spanish teaching, even while staying at home with my baby.

1. Social Media:  While teaching I created a "teacher account" on Twitter and Instagram.  Even now, I re-tweet articles I have found about traveling, jokes in Spanish or resources for students.  Sometimes I post pictures of my daughter or things I'm doing with Spanish captions to engage students in reading a bit...and often times they will comment me or message me, which keeps those lines of communication open, safely and professionally.  Plus, I participate in Twitter chats where I'm still interacting with teachers and administrators in this area and learning what is going on in their classrooms.

2. Group Tutoring Classes:  I had heard people say before that companies might hire a tutor for their employees to learn Spanish, but I actually had better success within the church.  A local church and organization sends missionaries to the Dominican Republic and they were looking for a teacher to help them learn what they need before going on short term and long term trips.  One night a week, 1-2 hours at a time, and ADULT LEARNERS who are very motivated.  Hello, dream job.

3. International Travel:  I had planned and enrolled students in both my Peru and Spain trips before deciding to stay at home.  So, I kept my word.  Education First (EF) has been amazing at helping me prepare for meetings, communicate with parents and make a near flawless transition.  One meeting a month, a few emails in between, and a bit of organization.  EF does not require you to be a teacher to lead these trips, so if there isn't a program in your area...consider heading it up. I get to promote my tours in the schools, meet new students and travel. to. other. countries.  So.

4. Individual Student Tutoring:  I sent an email to all of my teacher/friends in the Spanish department at two middle schools and the high school, letting them know they could pass my information on to students and parents who needed additional tutoring.  I meet one night a week for an hour at Starbucks and help the student re-learn what they missed.  It's ideal for me (additional income & practice), the teacher (ain't nobody got time for that), and the student (additional reinforcement).

5. College Supervising Teacher:  The Christian college in my area has a strong education program and sends many prospective teachers into the public schools to complete their student teaching.  I get to observe them 5 times throughout the semester, evaluate them, mentor them and then eventually recommend them to pass student teaching if I feel they have earned that. It's entirely on my own schedule and allows me to not only know what is going on in the area public schools, but also keep up to date with what is expected of prospective teachers.

I didn't include the reading, ESL volunteering, conference attending and other ways I have enjoyed practicing Spanish and learning how to improve my teaching.  Obviously, you find options that work best for your family and passions.  I have loved my decision to step back from full time and even part time teaching "officially" and spend this time learning and growing "unofficially" as I soak up every minute possible with my precious daughter.

If you're like me, maybe you can find ways like this that you didn't know existed and enjoy some of your favorite aspects of classroom teaching...without the actual classroom, for now. 

What ways have you stayed involved in your temporary, or long-term, absence from classroom teaching?