Friday, November 6, 2015

Triple Crochet Scarf with Fringe:::FREE pattern!

I really, really want to start an Etsy shop filled with crochet goodies to help support my family.  However, I don't have much experience crocheting, nor do I know much about running a business.  So, for the time being, I am experimenting with lots of different patterns, styles, yarn and inventions to come up with something I hope to mass-produce in the near future.  For those of you who are interested, I will share the pattern I came up with most recently that I like:  my Triple Crochet Scarf with Fringe (much better name in the works :) )


I modeled this pattern off of my favorite scarf that my aunt made me a few years ago.  It is so chunky, warm, and extra extra long...I love wrapping it around a few times and tying it in a big knot when these Indiana winters (or falls!) get especially chilly.  I adapted my pattern for a bit of a more dainty style and something I could make with the one skein of yarn I had laying around.

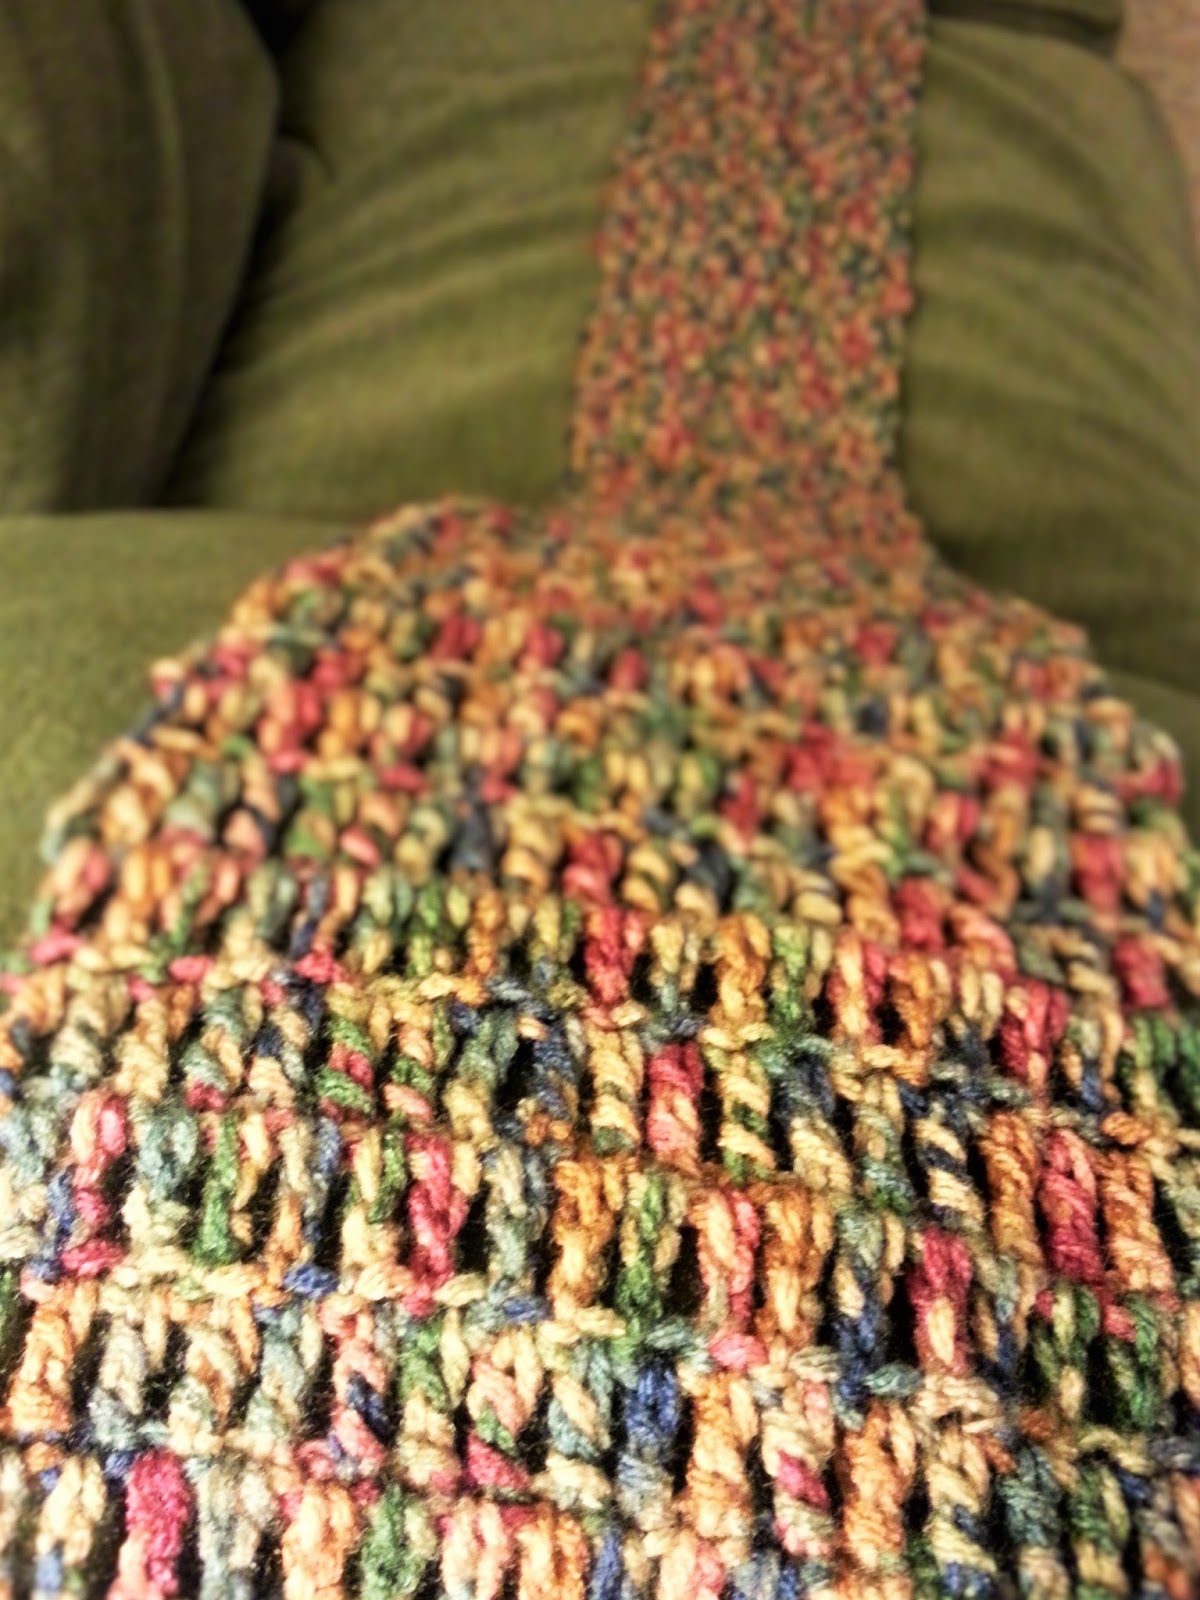
My favorite part about the Triple Crochet stitch is how it looks like a winding pillar.  Yarn with blended different colors makes it look especially interesting!  Plus, the stitches are obviously taller than a Double Crochet, so the scarf gets longer quicker.


In all, my scarf contained 65 rows of Triple Crochet stitches and measured about 55 inches in length.  It was 7 inches in width, which was 20 Triple Crochet stitches and then a chain 4 space to turn. You could probably get away with a chain 3, but I really started to like how the chain 4 gave a curved edge to the scarf.  I love the added details!


You can find the complete pattern below.  If you try to make it, please let me know how it goes, or what you do to improve it. I would love to see your pictures, too!  Like I said, this is one of my first real "inventions", so I tried to keep it extremely simple and easy to reproduce in the future.


Complete pattern:  Triple Crochet Scarf with Fringe
Pattern by: Alison Schemmer

Yarn: Weight 4
Skein: 1 (5oz), and additional yarn for fringe
Hook: J

Row 1: Chain (ch) 24.  **Row 1 stitch count=24**

Row 2: Triple Crochet (tc) In fourth stitch from hook & continue until the end of the chain.  Ch 4 & turn. **Row 2 stitch count: 20, plus ch4**

Row 3-66: Tc in each stitch, including top of chain 4 space from previous row.  Ch 4 &turn. **Rows will total 20 tc + ch4 each time**

Finish off & weave in ends.

For fringe
Yarn: 3 different colors (A, B & C)
Cut 40 pieces of yarn 8" long of color A
Cut 20 pieces of yarn 10" long of color B & C (40 total)


Fold each piece of A in half to form a loop.


Insert hook between each stitch on the end of the finished scarf & pull the loop through.


Tie a knot by putting the ends of the yarn through the loop and pulling tight.


Continue until each stitch has fringe from A secured on both ends of the scarf.


Do the same with yarn B pieces, by tying over your previous fringe pieces.  This time, skip a stitch each time, so each end only has 10 B colored pieces.


Then, flip the scarf over, so your yarn C pieces will be knotted on the opposite side (this ensures all fringe colors are more visible).  Tie yarn C pieces only in the stitches where there aren't any yarn B pieces.


If you want the yarn to be more even, feel free to trim with scissors after you are finished.

And, there you have it! A one-skein, triple crochet scarf with fringe, just in time for the cooler midwest weather on the way.  Bundle up!


Wednesday, October 28, 2015

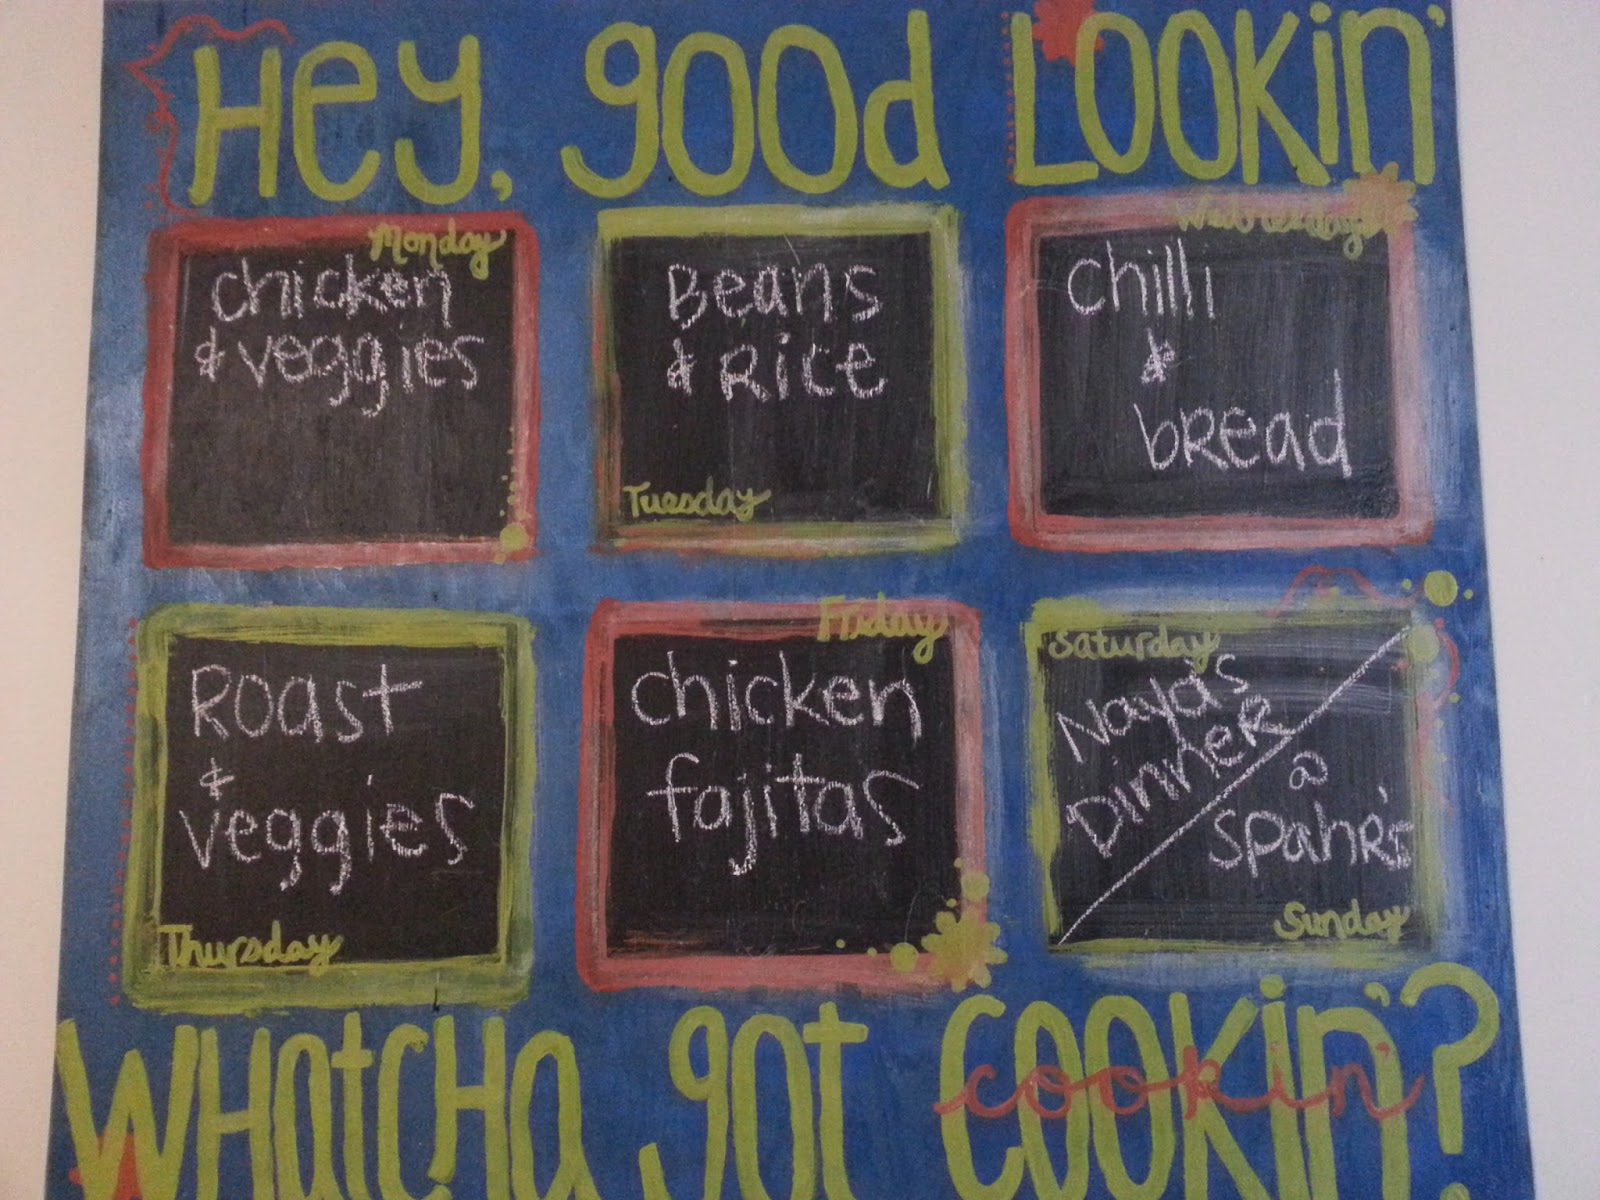
Kitchen Menu Board

Over the past four years of marriage to my husband, I have learned many, many things about myself.  I've learned I am even more introverted than my college self knew, "slow reader" doesn't do me justice, my crafting ideas will inevitably surface near bedtime, I hate dishes, Pepsi-addiction is a real thing and homemaking does NOT come naturally to me.  Plus:  I actually like to cook!

Growing up with a super-woman stay-at-home-mom did not give me the chance to experiment in the kitchen much.  She was the goddess of the food and she did not need (nor did I offer) much help.  I always assumed I didn't care for it like she did.  Turns out:  I like to cook!

Now, we live on a small budget and our kitchen is even smaller.  Both of these things can make meal planning and shopping a bit tricky.  My money saving techniques have been all over the place:  coupon clipping, off-brands, Mperks, shopping at 3 different groceries, receipt uploading, etc.  But one of the staples in my routine is meal planning.  If I write out our dinners for about a week and a half or two weeks at a time, I can then better plan meals that will use similar ingredients or ways that we can stretch a meal to two or three.  I normally do my meal planning on a boring ole piece of notebook paper.  Nothing special.

I buy groceries.  (Read: all day event after which I need a nap).
I come home and put away said groceries.
And in the craziness of unloading and napping that little not-so-special-list gets lost and sometimes I forget what I was going to make two weeks from now.

So, thank you, Pinterest, for inspiring me to create this kitchen menu board and do away with silly little easy-to-lose lists.


So:  I got a spare piece of particle board from my grandpa. I bought a can of spray paint in a color I liked (with sparkles?!) and I bought chalk board paint when it was on sale. I bought plenty of painter's tape and used my sewing measuring tape to make my boxes even.  Then, I got out my old acrylic paints from furniture painting back in the day and added some fun little details. 

Note to self: Always lay down newspaper before spray painting in your side yard.


My favorite part of this board is the quote:  My grandpa (not wood-workin, particle-board-donating grandpa...other grandpa) always used to sing it to us as kids, so I was happy to try to freehand it for this occasion!

The colors match the curtains I made last year that hang close by (what? your laundry isn't hidden behind a curtain in your kitchen?!) and bring out some of the colors in our placements from the nearby dining room.


Nowadays, upon my return from marathon shopping and after a little rejuvenating snooze, I wipe down my menu board with a damp washcloth, write in our main dishes for the week (or sometimes two weeks if I add a diagonal chalk line) and then Hubs can see what's coming up as well!

You should try it.  I pinned dozens of different versions and decided I like this one the best because it sort of made a statement on an otherwise unused wall.  What do you think?  Do you have a menu board in your kitchen?


Tuesday, October 13, 2015

Birthday Bash!

It seems crazy that we recently celebrated Naya's first birthday!  We can hardly believe how months 10-12 have flown by...and how SO MANY huge developments have accompanied them.  We feel like we have a whole new baby these days!


Baby girl weighs 16lbs 4oz these days.  Yeah, we know, she's tiny.
She's pulling herself up to ANYTHING (even very wobbly, bad-idea-Naya-stop things) with one hand and then letting go &slowly sitting down.
She loves her walking toy and knows how to back it up if she gets stuck.
She is eating everything like Mommy & Daddy now and is on whole milk.
She is getting gigglier and ornerier.  She plays peek-a-boo, takes her pants off, teases us and dances.
She waves, kisses, hugs, and nodds/shakes her head (mostly when appropriate).
Our hearts explode with each new learning moment and discovery :)


When it came time to throw her a "birthday party", we probably took a different approach than many first time parents.  Because...well...we didn't.  We wanted to celebrate and thank God for giving us this last wonderful year with our daughter, but we also try to live simply and we didn't want to spend lots of money or time preparing for a huge party.  That was just our choice.  I love seeing Pinterest boards of first birthday ideas and I love attending those parties myself, but it just doesn't fit our family and our values.

In the weeks leading up to her birthday, we checked out all the birthday books we could find from our favorite authors at the public library.  We read one or two a day, and then we used them as "decorations" at her birthday bash.


So, we had over our immediate family that lives in this area (my parents, sisters/spouses, husband's sister & family).  They came to our small apartment, we grilled and ate outside on borrowed tables from our church.  We didn't send out invitations; we didn't decorate.

Baby girl enjoyed her first experience with a cupcake. No, not just any cupcake. THIS CUPCAKE.

She saw...

She licked...

She hugged...?...


She devoured... 

She...got too messy and wanted an icing refill, please.


 And then, of course, the bees began attacking and the wind made sitting outside a bit chilly, so we packed into our small living room and opened some presents.  Then we played, talked, and practically sat on each other. Seriously, though.


My husband and I didn't really get her gifts.
I bought her 3 headbands...
This one from ShelbyChicBoutique.


And these two from VioletBowtique.

...we wrote her letters...

... and we put some money in her envelope.
We knew others would give her the fun experience of tearing into boxes and bags, and she has EVERYTHING she needs and more.  We choose to give her (&most in our lives) experiences instead of items.  Not that items are bad (in fact, she loves them) but just that we find experiences to last longer, be more personal, meaningful and intentional and fit our family better.

Oh, and I used this adorable pattern from Pinterest to crochet a little birthday crown the night before her "birthday bash."  She obviously loved it.  HA.


We also finished the 1st year of her baby book and had it out along with a few other prints of family & friends with Naya.

One of my favorite parts was when my brother-in-law-to-be snapped some candid family photos of the evening.


Leading up to the time the party was to be, I kept going back and forth in my mind if we should move it to our church, if we should invite great-grandparents, if we should...if we should...

And that is when I need to stop and remember this day is not about me.
It is not about comparing my house or family or plans to any other mother.
It is about God and how he has answered our prayers and proved Himself faithful over the past year.
And I'm pretty sure entirely positive He doesn't care if my apartment feels claustrophobic or if my chairs are wobbly and uncomfortable.

My favorite thing in the weeks following Naya's birthday was taking pictures of her wearing, playing with or using her gifts.  I included those snapshots in the notes that "Naya wrote" for her loved ones.  It was fun to do...hope they enjoy a little picture of my everyday :)

Naya "reading" the magazine subscription gifted to her by her great aunt.

Naya "reading" her new flip books from her cousin.

Naya mastering the xylophone thanks to her aunt & uncle.

Naya all ready for her 12mo immunizations in the new clothes her aunt gave her.


Thank you, Heavenly Father, for seeing it fit to bless us with Naya Renee for one whole year.  May her life always reflect You to those who know her.  May she love you and know you deeply.  May we as parents show Your love to her this next year and for her whole life.


Saturday, September 5, 2015

Water-proof Baby Changing Mat

It seems like everyone I know has had a baby this summer!  Naya and I have loved meeting so many new friends and cousins.  But, the more babies you know, the more presents there are to buy...and while I could buy for babies all day long, our Dave Ramsey budget doesn't have much room for such purchases (more on that in a future post!).  Thankfully, I found this post on Pinterest that encouraged me to get crafty with some vinyl tablecloths I found on clearance.

And after a bit of trial and error...I finally came up with a product I like:

Two table cloths plus a bit of bias tape = GREAT addition to any pool/beach bag!
 The tutorial in the above link includes fabulous pictures and step-by-step instructions on how to create this changing mat.  Here are the much more simplified instructions I followed:


  1. Trace desired size circle on to one table cloth TWICE.  (You will want a front and back of the same material and same size.)
  2. Decide how large you want your pocket (donut-shape) to be, and using a pencil tied to a string as a compass as well as you previous table cloth cut outs, trace a donut shape on the opposite table cloth material.
  3. Cut out 2 circles from Step 1 and 1 donut from Step 2.
  4. Stitch bias tape to inner circle of donut shape.
  5. Pin all pieces together (two circle pieces with printed table cloth sides out, and one donut shape with printed table cloth side out).
  6. Stitch bias tape to outside of all 3 pieces to secure the mat together.
  7. Fold the mat in thirds, like an envelope, and make slight creases.
  8. Stitch down the two creases to create pockets.
  9. Between the seams you just created, on one end attach two pieces of ribbon.
  10. To carry, fold mat on creases, roll tightly from top to bottom and use ribbon to tie bundle together.
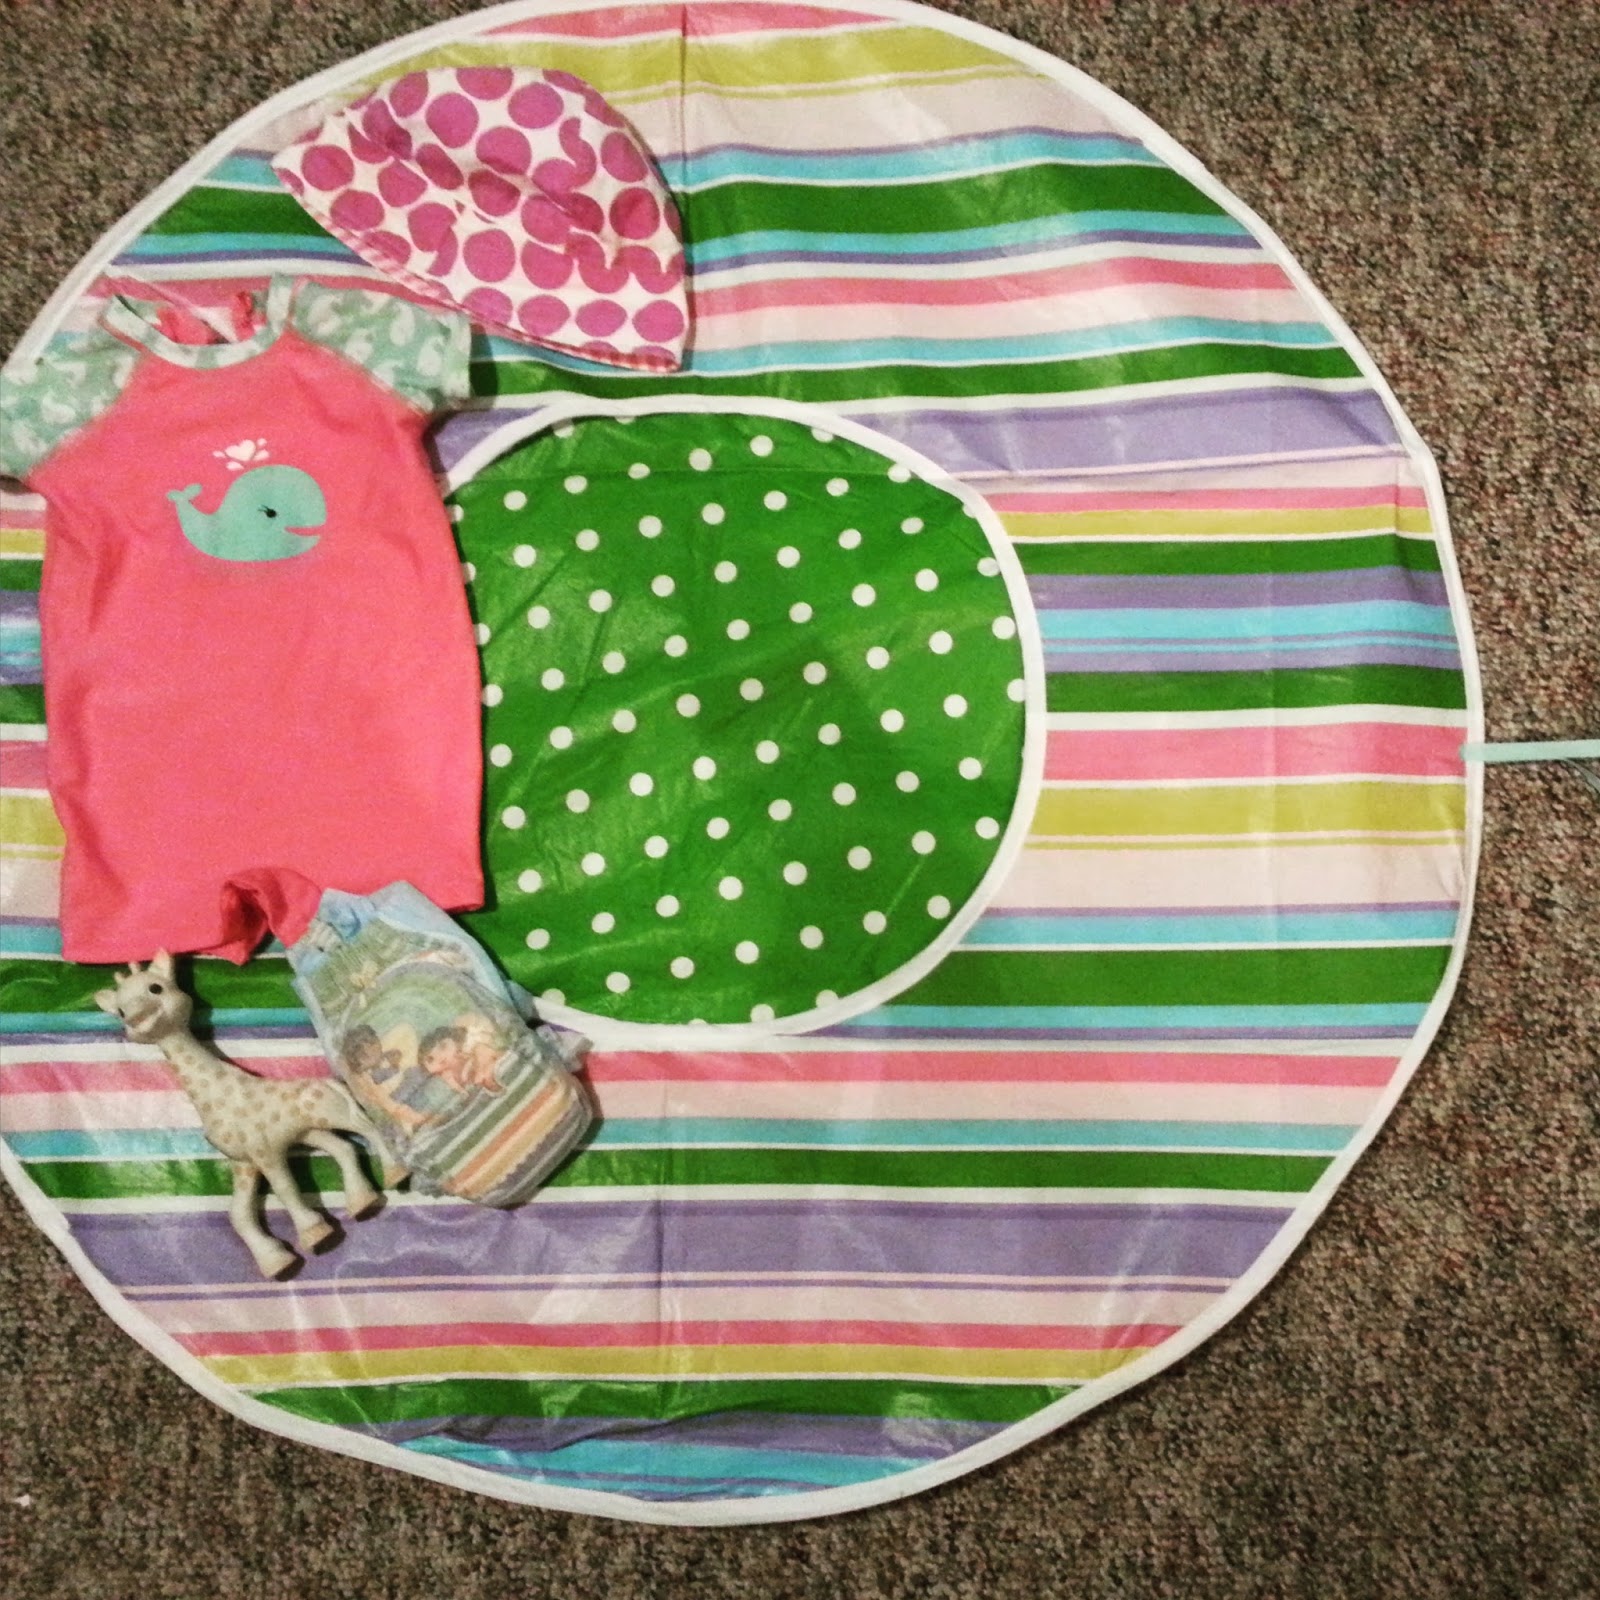
In my pockets I could fit my daughter's swimsuit, swim hat, swim diaper and beloved Sophie!


An example of how the mat folds up "in thirds".

With the mat secured by a ribbon, you can easily toss the mat in your trunk, stroller or diaper bag!
 This bright and cheery changing mat went to our friend Summer.  We hope she enjoys the pool as much as Naya does and that her mom can keep her on this mat when she's putting on her sunscreen, changing her diaper or drying her off.  Just stopped by Meijer to check out the clearance section and found adorable table cloths for $2! I stocked up for the baby showers this fall.